Table of Contents
Introduction
Having been actively developed for over three decades, PostgreSQL is a robust and sophisticated object-relational database management system that is open-source. Its powerful features, dependability, and scalability are well-known, and it handles both relational (SQL) and non-relational (JSON) data.
PostgreSQL Installation
To install PostgreSQL on your Ubuntu system, follow these steps.
1. Update system packages
First, ensure that your system packages are up-to-date. Run this command:-
sudo apt update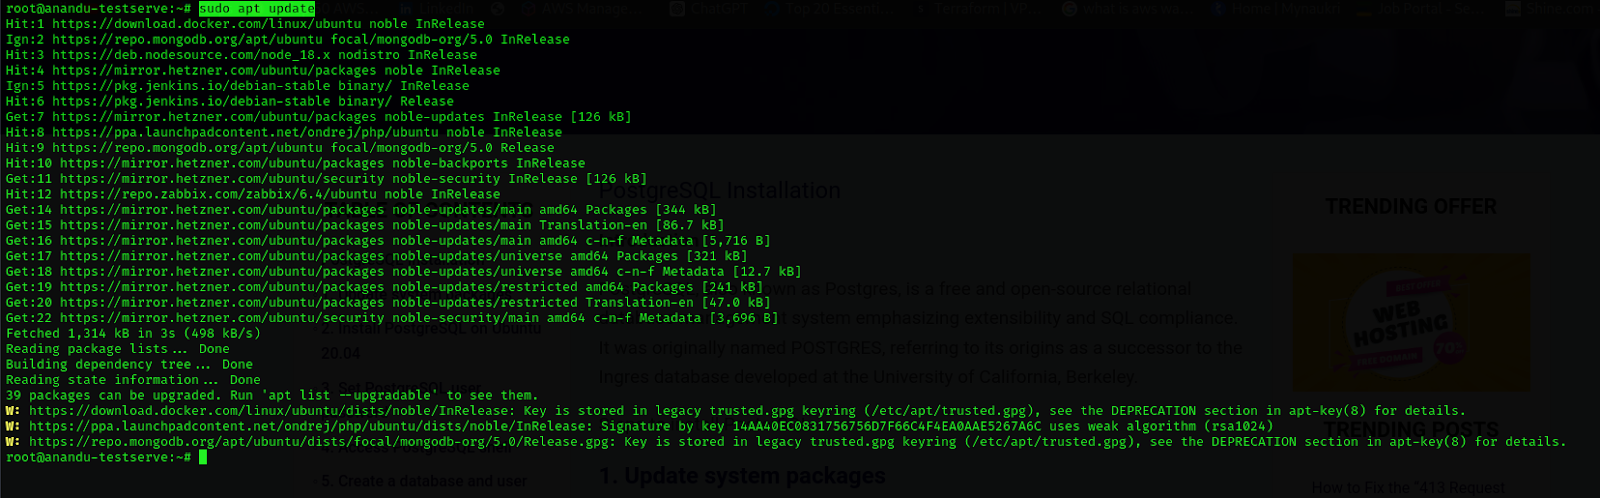
Type this command:
sudo apt -y upgrade
2. Install PostgreSQL on Ubuntu
You can install PostgreSQL on Ubuntu 20.04 without configuring the
Ubuntu repository. Install PostgreSQL on Ubuntu:-
sudo apt install postgresql postgresql-client
This command installs both the PostgreSQL server and the client. During installation, you may be prompted to confirm the installation by pressing ‘y’.
Start, stop, and enable the PostgreSQL services, to do so;
Check the postgres status after installation by using following command
sudo systemctl status postgresql.service
If the postgres service inactive start the service
sudo systemctl start postgresql.serviceFollowing command enables PostgreSQL to start automatically at boot.
sudo systemctl enable postgresql.serviceSetup PostgreSQL server
1. Set PostgreSQL user password
Create the user password for PostgreSQL. To do so, Using the following command:-
sudo passwd postgres2. Access PostgreSQL shell
You can log in to PostgreSQL as a user to access the databases and working shell using the following command
3. Create a database and user roles
You can create new databases and users using the interactive Postgresql shell as follows.
psql -c "alter user postgres with password 'mypass123'"This command changes the password for the postgres user to mypass123. The -c flag allows you to run a SQL command directly from the command line without entering the interactive psql shell.
Now create a new user and database using the following command:
createuser testusercreatedb testdb -O testuserChange the role and password using the following command. The \q is used to quite from the shell.
psql -c "alter user testuser with password 'testpass123'"Use the following command to list databases:
psql -lPostgreSQL by default listens at the local interface which is 127.0.0.1. But, you can open its remote access by doing some changes in the configuration file. To access the configuration file of PostgreSQL, you will use the following command.
4. Remote connection[Optional]
To allow PostgreSQL to accept connections from remote clients, you’ll need to modify the PostgreSQL configuration file. Open the configuration:-
sudo nano /etc/postgresql/12/main/postgresql.confInside the file, find the line that starts with listen_addresses and change it to:
listen_addresses = '*'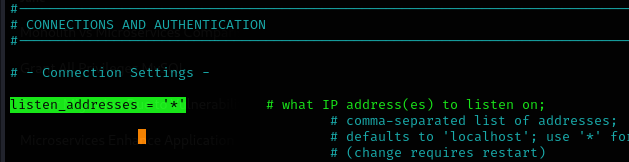
listen_addresses = ‘*’: This setting allows PostgreSQL to listen for connections on all network interfaces, not just 127.0.0.1. The * wildcard represents all IP addresses.
After making this change, save the file using ctrl+s and ctrl+x. Now restart the PostgreSQL service.
sudo service postgresql restartThis command restarts the PostgreSQL service, applying the new configuration settings.
Conclusion
This tutorial has guided you through the steps to set up PostgreSQL on an Ubuntu server. PostgreSQL is a powerful and complex database management system with a rich set of features, including advanced space management for B-tree indexes, concurrent index rebuilding, and covering index creation.
While this guide covers the basic installation and configuration of PostgreSQL, there are many more advanced features and administrative tasks you can explore to fully utilise PostgreSQL’s capabilities. We hope you found this guide useful in setting up your PostgreSQL environment
TRENDING OFFER