Table of Contents

Node.js, created by Ryan Dahl in 2009, has changed the way we use JavaScript in web development. It’s an open-source tool that lets you use JavaScript for both the frontend and backend, making it possible to build full web applications with just one programming language.
Node.js is built on Chrome’s V8 JavaScript engine, which makes it fast and efficient. It uses an event-driven, non-blocking I/O model, meaning it can handle many tasks at the same time without slowing down. This is perfect for real-time applications like chat apps, online games, and live streaming.
One of the biggest strengths of Node.js is its ability to handle a lot of users at once, making it great for apps that need to scale. It also has a huge library of packages available through npm (Node Package Manager), which helps developers quickly add features to their apps.
In short, Node.js is a powerful tool that makes it easier to build fast and scalable web applications using JavaScript for everything. Let see the other advantages and uses of node.js
Advantages of Using Node.js
Multiple factors should be considered when you look for the advantages of using a particular platform. Things like the learning curve, development speed, community, and scale can alter the overall balance of benefits.
- Simple Syntax: Node.js uses JavaScript, which has a straightforward and easy-to-understand syntax, making it accessible for developers.
- Easy Learning Curve: Since many developers are already familiar with JavaScript from frontend development, learning Node.js for backend development is relatively easy.
- Ability to Scale Quickly: Node.js can handle many connections at once due to its non-blocking I/O model, making it ideal for applications that need to grow rapidly
- Open Source and Flexible: Node.js is open-source, meaning it’s free to use and highly customizable. Developers can modify and enhance it to suit their needs.
- Cross-Platform Development: Node.js allows you to develop applications that run on various platforms, including Windows, Linux, and macOS.
- Single-Language Full-Stack Development: With Node.js, you can use JavaScript for both frontend and backend development, streamlining the development process and reducing the need to switch between languages.
- Real-Time Communication: Node.js excels in real-time applications like chat apps and online games because it can handle multiple simultaneous connections efficiently.
- Vast and Active Community: Node.js has a large and active community of developers who contribute to a rich ecosystem of libraries and tools, providing ample support and resources.
Node Version Manager (NVM)
Node Version Manager (NVM) is a free tool for managing Node.js versions. It’s simple to use and works with any POSIX-compliant shell, such as sh or bash. With NVM, you can easily install and switch between different versions of Node.js for each shell session. This guide will show you how to install NVM and use it to manage and run various versions of Node.js.
If you want to download Node.js for other operating systems like Windows or macOS, visit the official Node.js website.
Advantages of NVM
Node.js updates frequently, making it hard to test applications with different versions. NVM makes this easier by allowing you to quickly switch between Node.js versions. This helps with checking compatibility and updates for various libraries. NVM keeps Node.js versions and their modules in your user directory, so you don’t need to use sudo. It also simplifies the installation and setup process since you don’t have to get Node.js versions directly from your distribution.
Install NVM on Ubuntu
we will show you three different ways of getting Node.js installed on an Ubuntu
This guide assumes that you are using Ubuntu 22.04. Before you begin, you should have non-root user account with local package index first by typing:
Option 1
Step 1: Update Local Package Index
First, refresh your local package index by typing:
sudo apt update

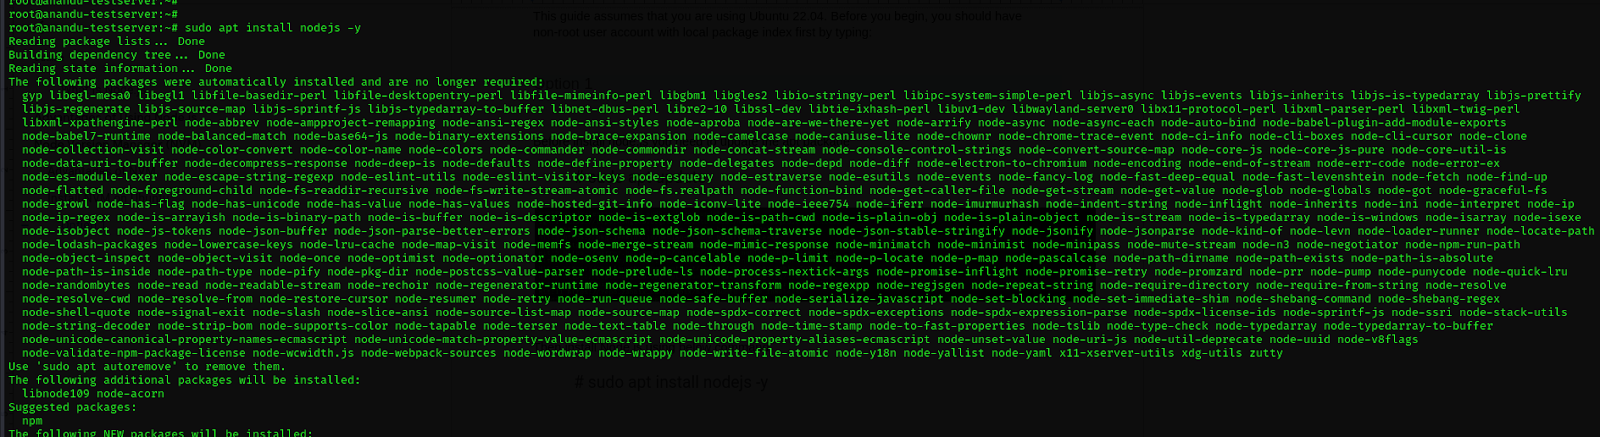
Step 2: Install Node.js
Next, install Node.js using the apt package manager:
sudo apt install nodejs -y
Step 3: Verify Node.js Installation
Check that the installation was successful by querying Node.js for its version number:
node -v

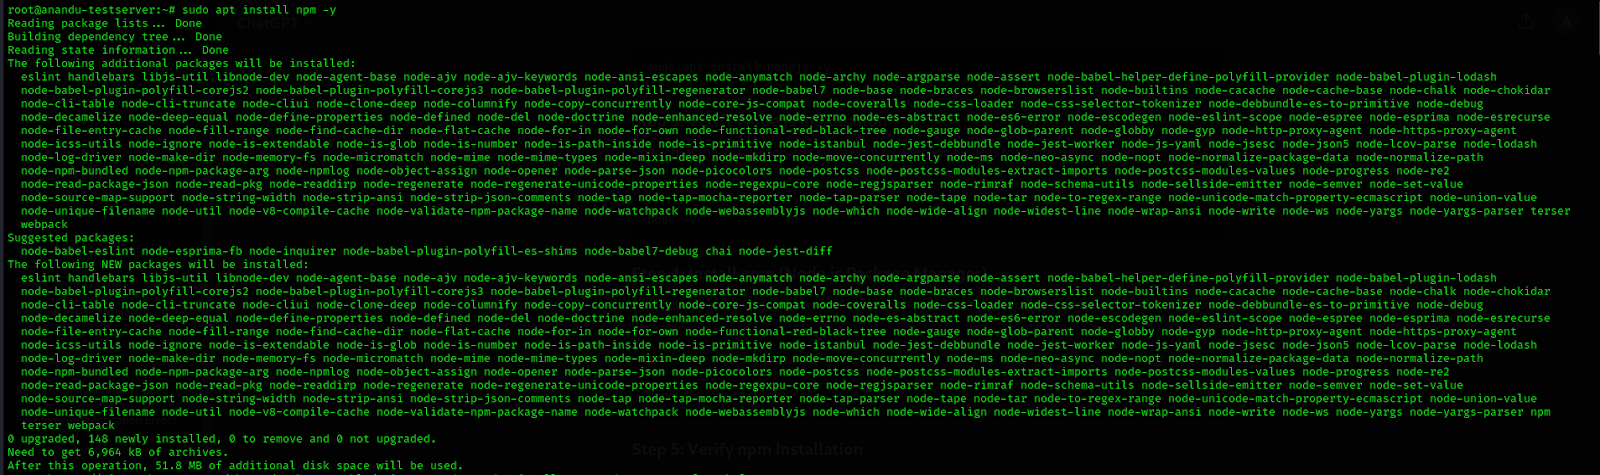
Step 4: Install npm (Node.js Package Manager)
You’ll also want to install npm, the Node.js package manager. You can do this by installing the npm package:
sudo apt install npm -y
Step 5: Verify npm Installation
Check that the npm installation was successful by querying npm for its version number:
npm -v
By following these steps, you will have Node.js and npm installed on your Ubuntu 22.04 system, allowing you to install modules and packages to use with Node.js.
Option 2: Install Node.js Using NodeSource
Step 1: Download the NodeSource Installation Script
From your home directory, use curl to retrieve the installation script for your preferred Node.js version. Replace 18.x with your desired version string if different.
curl -sL https://deb.nodesource.com/setup_18.x -o nodesource_setup.sh
Step 2: Inspect the Installation Script (Optional)
You can inspect the contents of the downloaded script with your preferred text editor
vi nodesource_setup.sh
Step 3: Run the Installation Script
If you are satisfied that the script is safe to run, exit your editor, then run the script with sudo:
sudo bash nodesource_setup.sh
This will add the NodeSource PPA to your configuration and update your local package cache automatically.


Step 4: Install Node.js
Now, install the Node.js package using the apt package manager:
sudo apt install nodejs -y
Step 5: Verify Node.js Installation
Check that you’ve installed the new version by running:
node -v
Step 6: Install npm (Node.js Package Manager)
The NodeSource node.js package contains both Node.js and npm, so npm should already be installed. Verify npm installation by running:
npm -v
Option 3 Installing Node.js Using the NVM
NVM (Node Version Manager) is a bash script that allows you to manage multiple Node.js versions per user. With NVM, you can easily install and uninstall any Node.js version.
Step 1: Install wget
Ensure wget is installed on your system. If it isn’t, you can install it using:
sudo apt install wget -y
Step 2: Install NVM
Use wget to download and install NVM on your Linux system:
wget -qO- https://raw.githubusercontent.com/nvm-sh/nvm/v0.39.1/install.sh | bash
Step 3: Load NVM
After the installation is complete, run the following commands to set up NVM in your current session:
export NVM_DIR="$HOME/.nvm" [ -s "$NVM_DIR/nvm.sh" ] && \. "$NVM_DIR/nvm.sh" # This loads nvm [ -s "$NVM_DIR/bash_completion" ] && \. "$NVM_DIR/bash_completion"
Step 4: Verify NVM Installation
Check that NVM was properly installed by typing:
nvm --version
Step 5: List Available Node.js Versions
To get a list of all Node.js versions that can be installed with NVM, run:
nvm list-remote
This command will print a list of all available Node.js versions.
Step 6: Install a Node.js Version
To install the latest available version of Node.js, use:
Alternatively, you can specify a particular version to install, for example:
nvm install 18.10.0
Step 7: Verify Node.js Installation
Once the installation is completed, verify it by printing the Node.js version:
node -v
Step 8: List Installed Node.js Versions
You can list the installed Node.js versions by typing:
By following these steps, you will have NVM installed on your system, allowing you to manage multiple Node.js versions easily.
Conclusion
We have shown you three ways to install Node.js and npm on your Ubuntu 22.04 machine. The method you choose depends on your requirements and preferences. Even though installing the packaged version from the Ubuntu or NodeSource repository is easier, the nvm method gives you more flexibility for adding and removing different Node.js versions on a per-user basis.
TRENDING OFFER