Table of Contents
Introduction
cPanel is a popular web-based control panel that allows you to manage various aspects of your website, including your passwords. If you’re looking to change your cPanel password, here’s a step-by-step guide to help you do it.
Step 1: Log in to cPanel
Open your web browser-> Go to Website WordPress page and go to the cPanel login page. This is typically found at http://yourdomain-name:2082 or http://server_ip:2082. Once entered, type or copy+paste cPanel username and password in the give space to log in.

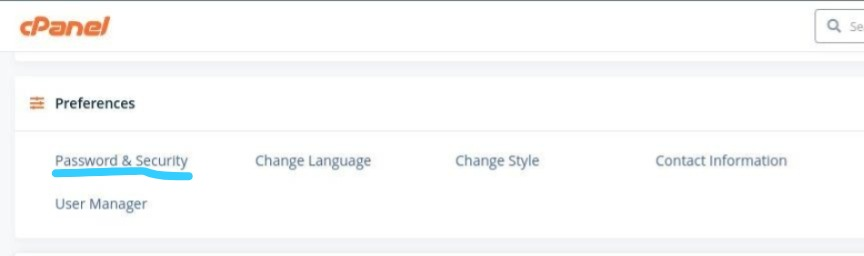
Step 2: Locate the “Password & Security” section
Once logged in, navigate to the “Password & Security” section from the page. This section is typically located in the main menu, but the exact location may vary depending on the theme you’re using.
Step 3: Change your password
Click on the “Password & Security” link, Under the “Change Password” section, you’ll be prompted to enter your current password, and then to create a new password.
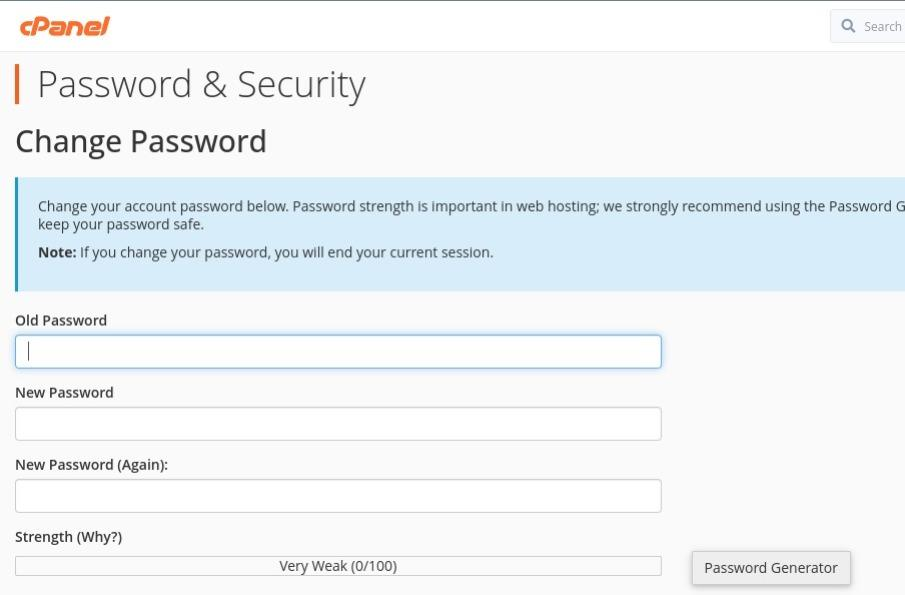
It’s important to choose a strong password, so choose a password with a combination of numbers, Capital and small letters, characters and symbols. You should also make sure that your password is at least 8 characters long.
Step 4: Confirm your password change
After entering your new password, click on the “Change your password now” button to confirm the change. You’ll then receive a message confirming that your password has been changed successfully.
Step 5: Log out and log back in
Once your password has been changed, log out of cPanel and log back in with your new password. This will guarantee that the modification was successful and that you have secure access to your cPanel account.
Conclusion
In conclusion, changing your cPanel password is a quick and simple process that will help keep your website secure. Just follow these five steps, and you’ll have a new password in no time.
TRENDING OFFER