Table of Contents
Introduction
Keeping your PHP version up-to-date offers a number of security and performance improvements. In this article, we’ll walk you through the process of updating your PHP version in cPanel.
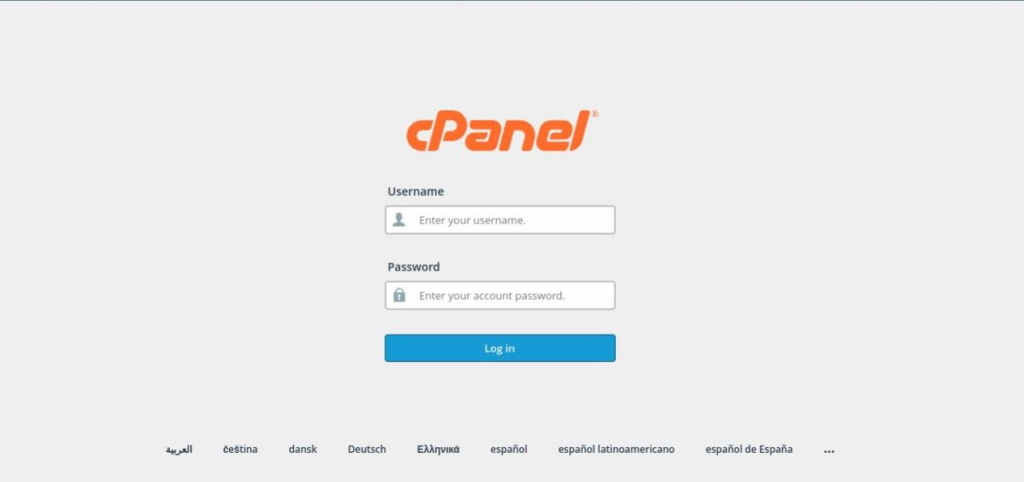
Step 1: Log in to cPanel
Firstly, log in to the cPanel account, for that enter your username and password in the given space.
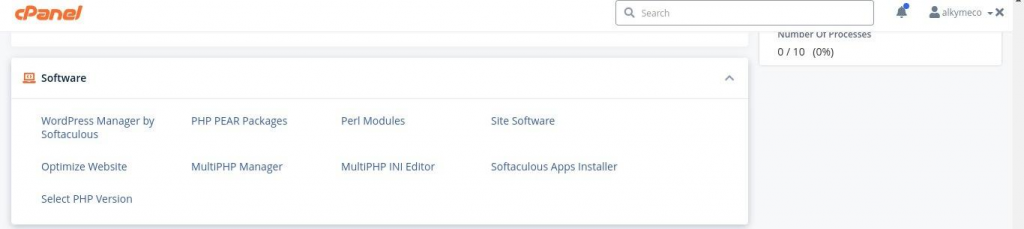
Step 2: Access the Select PHP Version tool
Once you’ve logged in to cPanel, go to the “Software” section and select “Select PHP Version” to access the Select PHP Version tool.
Step 3: Choose a PHP version
In the “PHP Version” section, select the desired PHP version from the drop-down menu. You can choose from a range of available PHP versions, including the latest version.
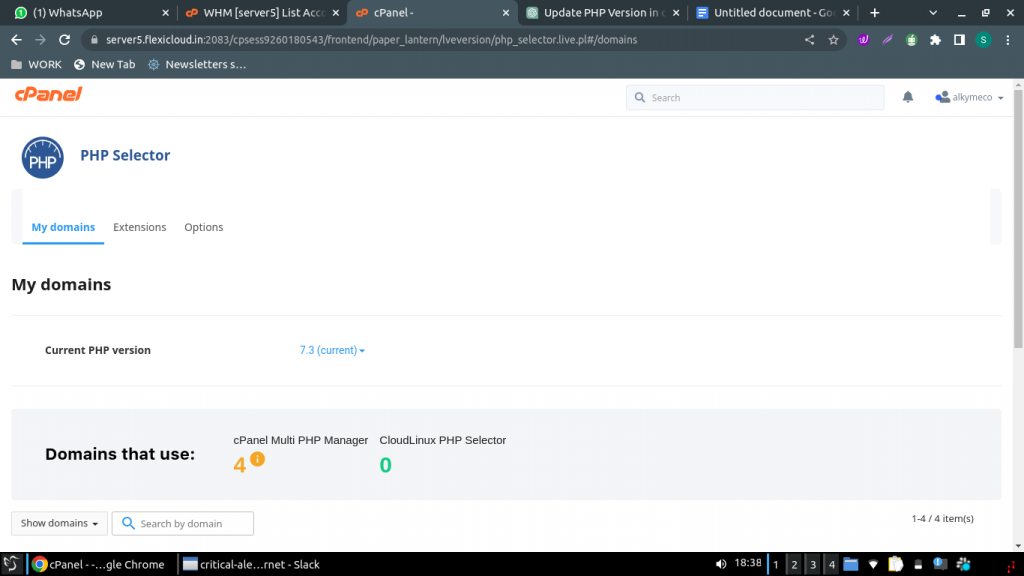
Step 4: Set the new PHP version as current
Once you’ve made your selections, click on the “Set as current” button to apply the new PHP version to your domain.

Step 6: Test your website
After updating the PHP version, it’s important to test your website thoroughly to make sure everything is working as expected. You can test your website by visiting it in your web browser, and you should also check any scripts or applications that are running on your website to ensure they’re still functioning correctly.
Conclusion
In conclusion, updating your PHP version in cPanel is a simple process that can be done in a few steps. Keeping your PHP version up-to-date is important for the security and performance of your website, so be sure to follow these steps to update your PHP version regularly.
TRENDING OFFER